Description
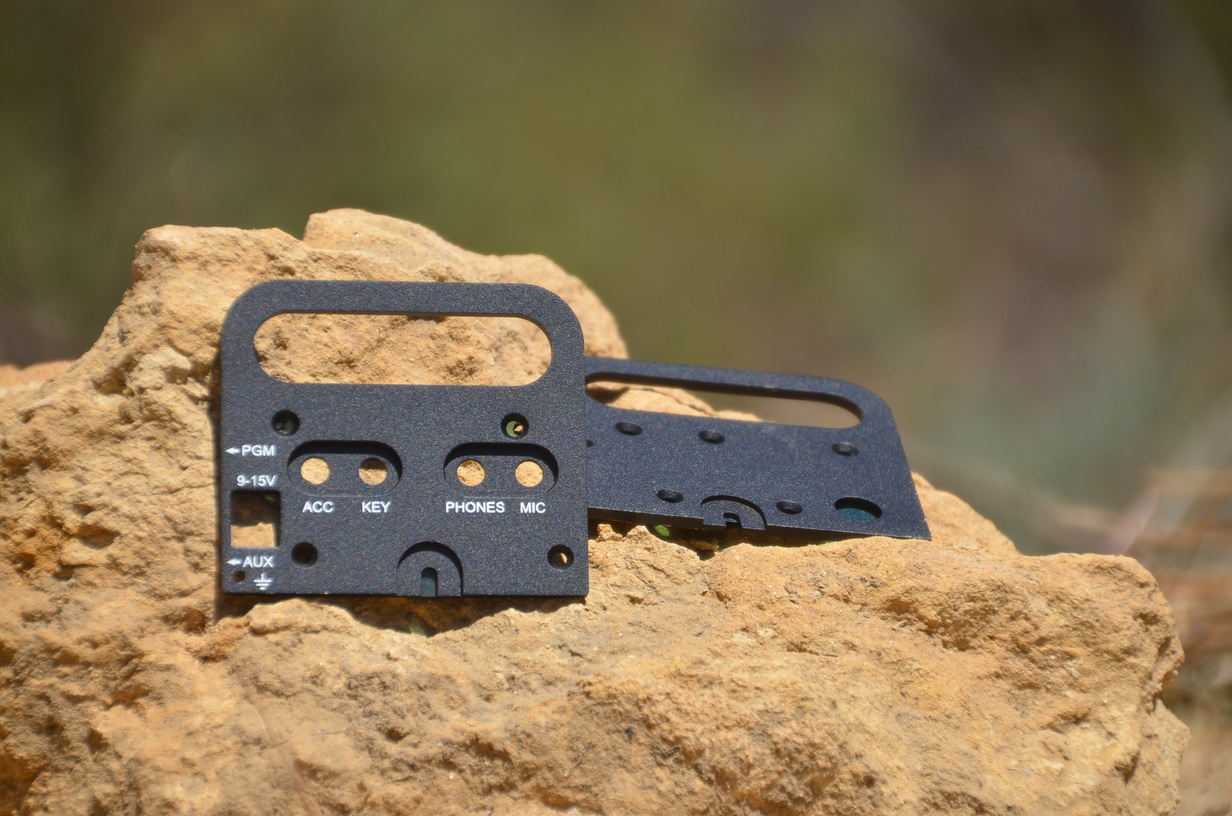
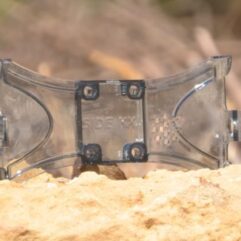
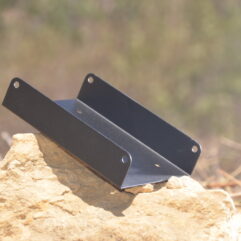
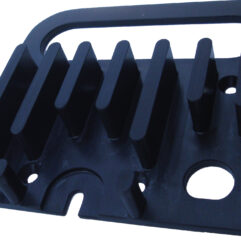
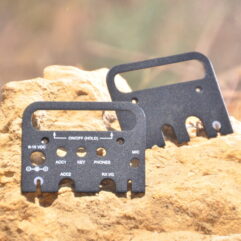
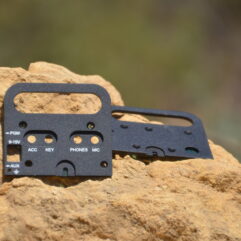
The Raised handles offer much needed front panel protection to all of the knobs, buttons and delicate LCD display
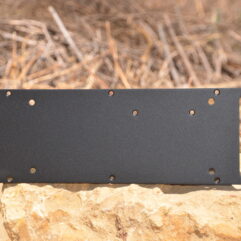
• Made from Aircraft Grade 7075 T6 Aluminum to resist bending
• All parts are laser cut to match all factory cutouts and media tumbled for a smooth edge
• All coatings applied by an ISO certified coating company
• Mil Spec Powder Coating in the factory Elecraft color
• Two part UV Stabilized Epoxy Silk Screen lettering so it won’t fade or yellow
• Text matches factory look
• You now have a convenient Carry Handle
Adds only .4 ounces to the weight of the radio 2.575″ tall x 2.875″ wide x .100″ thick
Please come back to this page and post a review of this part! You can post reviews for any of my products on their respective page!

72, K7PX –
The side kx ends for the
KX2 have arrived and been installed.
Your websites installation instructions were spot on.
Of course it would help to read them first before diving in.
Very nice product and it performs as advertised.
Good luck with the company!
***** –
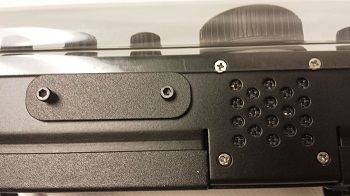
I had previously used the side panels and Lexan cover for my KX3 and was thrilled when Scott came out with the same for my new KX2. I noticed the KX2 side panels are a bit more complex in their design due to the way Elecraft hogged out and recessed some of the connectors, but Scott managed to elegantly duplicate the look and feel of the original side panels while adding the needed handles. They are rock solid like the KX3 version and I’m still confused why Elecraft doesn’t put protective handles like these on all radios from the factory.
Installation took a little more time than the KX3 version because you have to carefully remove a wire in the internal antenna connector then put it back, but there are great instructions on how to do this and no soldering is involved.
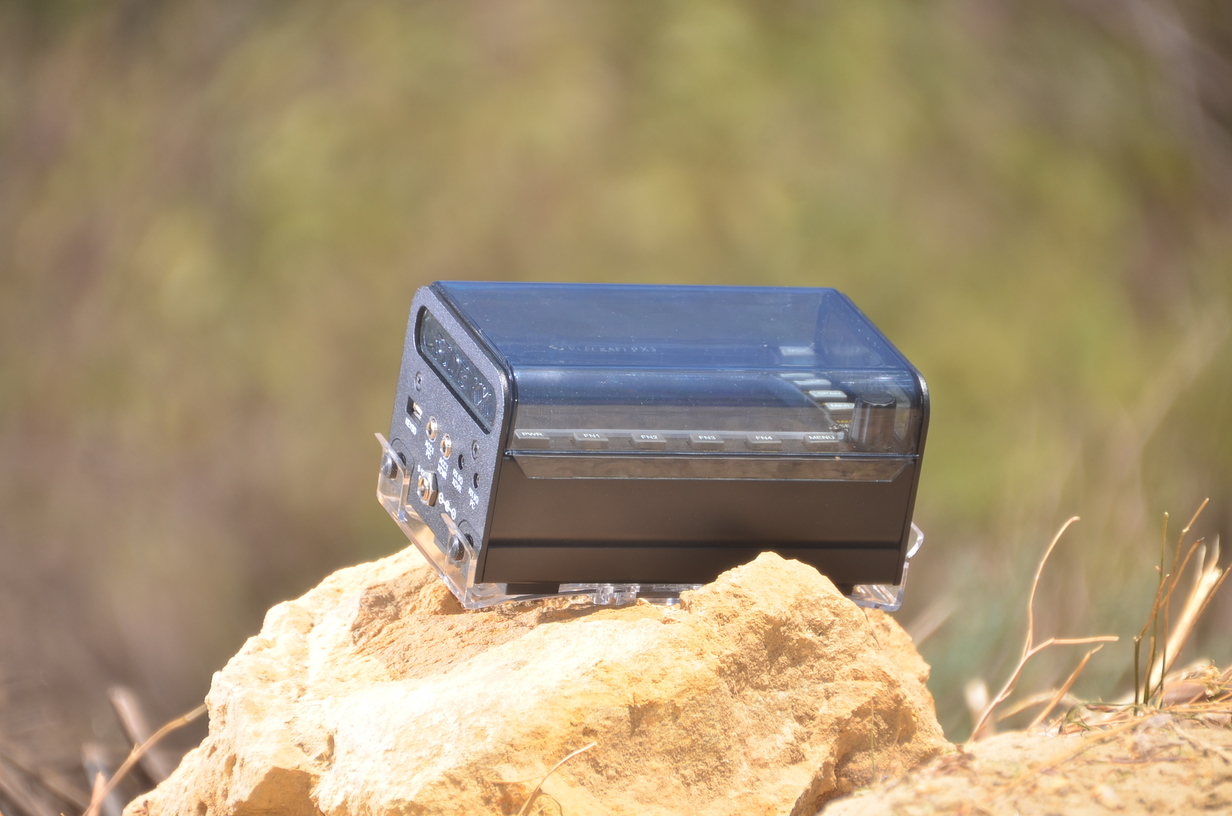
I also got the Lexan cover for my KX2 and was surprised at both the crisp and clean look compared to my older KX3 cover and also how tight and secure it fits. I’m told the KX2 covers are injection molded to a higher tolerance than the previous KX3 version and the smaller size probably makes it a little stiffer than the KX3 version when removing from the radio.
I had to learn a new way to remove the KX2 cover, which turns out to be the same way the instructional video shows on Scott’s site. You have to press in the side of the Lexan cover through the opening in the handle, and then it can easily be slid out from the handle and removed. I can see some people being a little squeamish putting pressure on the Lexan cover when removing but the stuff is bullet proof and will not break. In the end the Lexan cover will never come loose from the radio until you want to remove it and I like the added security.
I am as thrilled to have the side panels and cover on my little Elecraft rigs as I am to have the Elecraft rigs. Scott’s side panels and covers are the final touch to these amazing little rigs and they give me piece of mind that they will be protected wherever I might hike, paddle or bicycle to operate them.
Mike Frye KM6AB
Christopher – N7CJM (verified owner) –
Received the side panels for my KX2 yesterday, and immediately jump into switching them out. the fit and finish on these is superb, and gives the KX2 a wicked cool look while also adding protection. I of course jumped in with both feet switching out the panels and then ran into a snag with the side the BNC connector is on. That was the point I went to the instructions, and found that they were pretty comprehensive with pictures. Outstanding product, and easy to understand installation instructions, you couldn’t ask for more.